Introduction
Is your shower head dripping even when the water is turned off? That constant drip-drip noise is not only annoying but can also waste gallons of water over time, increasing your utility bills. Fortunately, learning how to stop a shower head dripping doesn't require calling a plumber. With some basic tools and a little patience, you can fix the problem yourself.
Why Is My Shower Head Dripping?
Before jumping into the repair, it helps to understand why leaks happen. Common causes include:
Worn-out washers or O-rings – Over time, these rubber seals harden, crack, or lose flexibility, allowing water to escape.
Mineral buildup – Hard water deposits clog the tiny holes in the shower head, forcing water to leak elsewhere.
Loose connections – If your shower head isn't tightened properly, water seeps through the gaps.
Faulty cartridge or valve – In mixer showers, the internal cartridge may wear out, leading to constant dripping.
Most of the time, the issue can be fixed with a simple cleaning or washer replacement.
Tools and Materials You'll Need
Adjustable wrench or pliers
Screwdriver (depending on shower type)
Teflon tape (plumber's tape)
Replacement washers or O-rings
White vinegar
Small brush (an old toothbrush works perfectly)
Soft cloth or rag
Step-by-Step Guide: How to Stop a Shower Head Dripping
Here's the DIY method most homeowners can do in under an hour:
1. Turn Off the Water Supply
Before doing anything, shut off the water supply to your shower. This prevents accidents and makes the process easier.
2. Remove the Shower Head
Use an adjustable wrench to gently unscrew the shower head from the pipe. Wrap a cloth around the fixture to avoid scratching the finish.
3. Soak the Shower Head in Vinegar
If your shower head is clogged, soak it in a bowl of white vinegar for at least 30 minutes. This dissolves mineral deposits.
4. Scrub the Nozzles
Use a toothbrush or small cleaning brush to scrub the nozzles, removing any buildup or dirt. This ensures smooth water flow.
5. Check the Washer or O-Ring
Inspect the rubber washer inside the shower head. If it's cracked, hardened, or worn, that's likely the cause of the drip.
6. Replace with a New Washer
Insert a new washer of the same size into the shower head. This provides a tight seal and prevents leaks.
7. Apply Plumber's Tape
Wrap Teflon tape around the shower arm threads. This improves the seal and reduces the chance of future leaks.
8. Reattach the Shower Head
Screw the shower head back onto the pipe and tighten it securely, but don't over-tighten. Turn the water supply back on and test for leaks.
Preventing Future Drips
Once you've fixed your shower head, follow these tips to avoid future problems:
Clean your shower head every 2–3 months.
Replace washers and O-rings regularly (every 1–2 years).
Avoid over-tightening connections.
If you live in a hard water area, install a water softener or filter.
When to Call a Professional
If you've replaced washers, cleaned nozzles, and tightened connections but your shower head still drips, the issue might be with the cartridge or valve inside the wall. In that case, calling a professional plumber is the safest option.
Need High-Quality Bathroom Products?
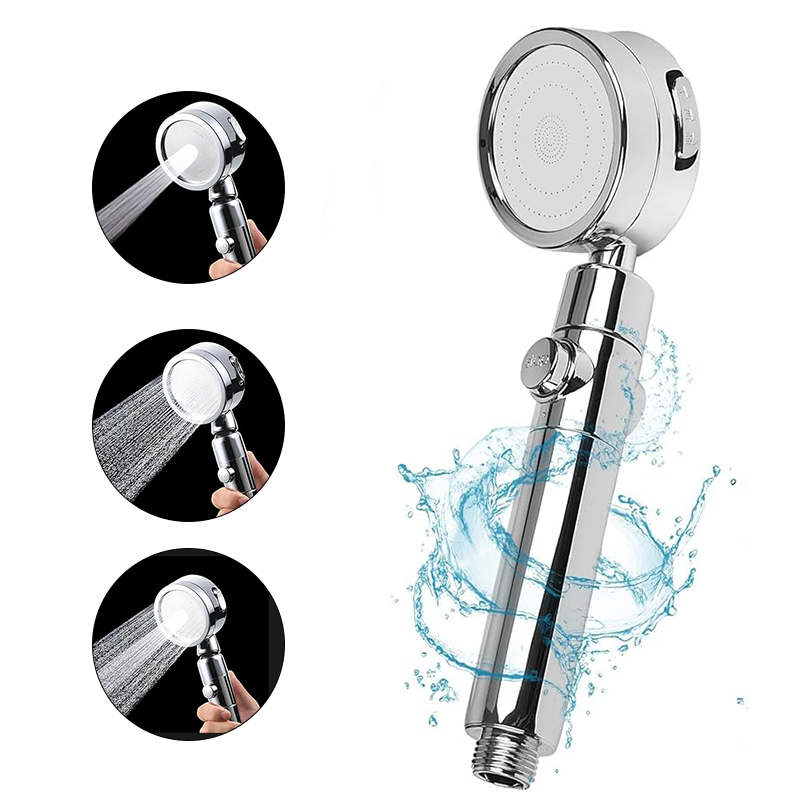
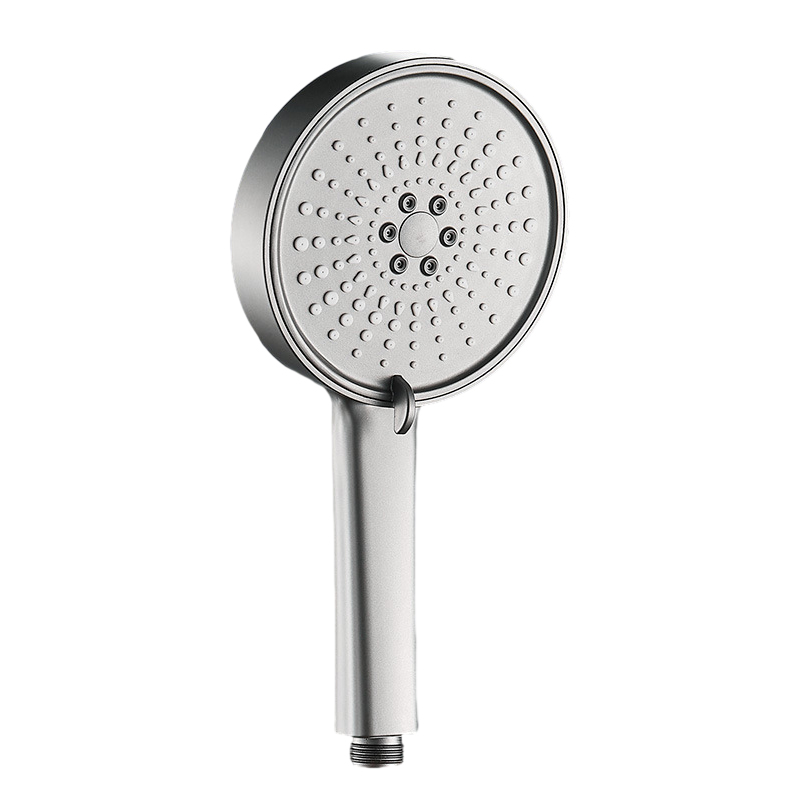
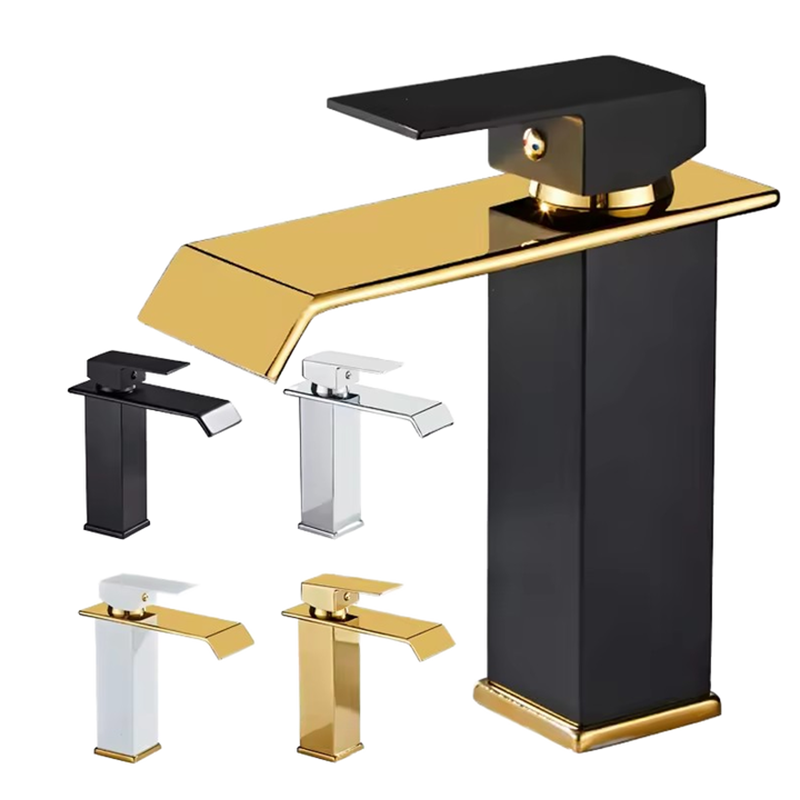
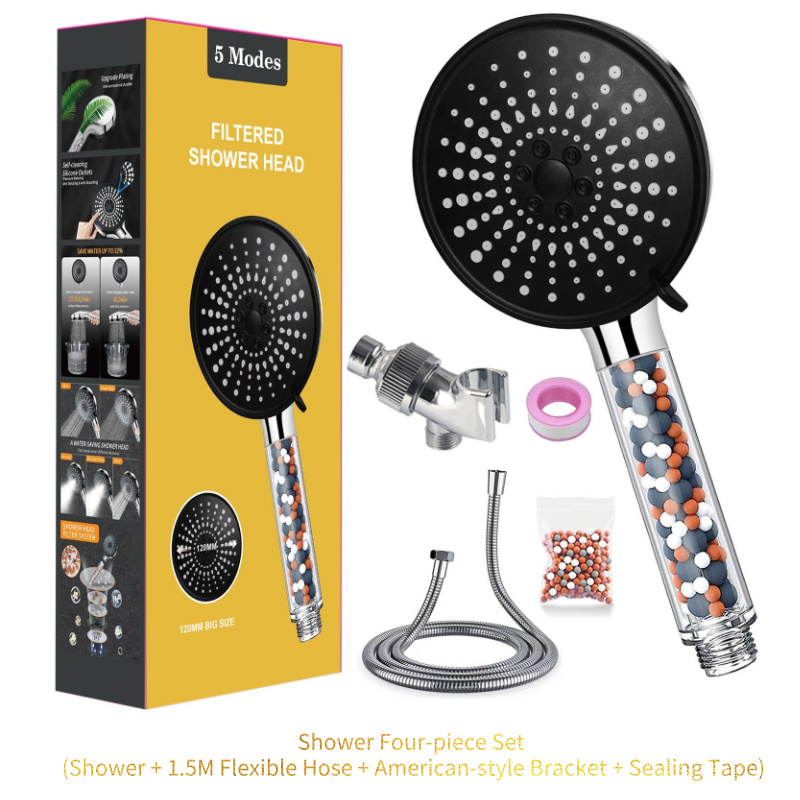
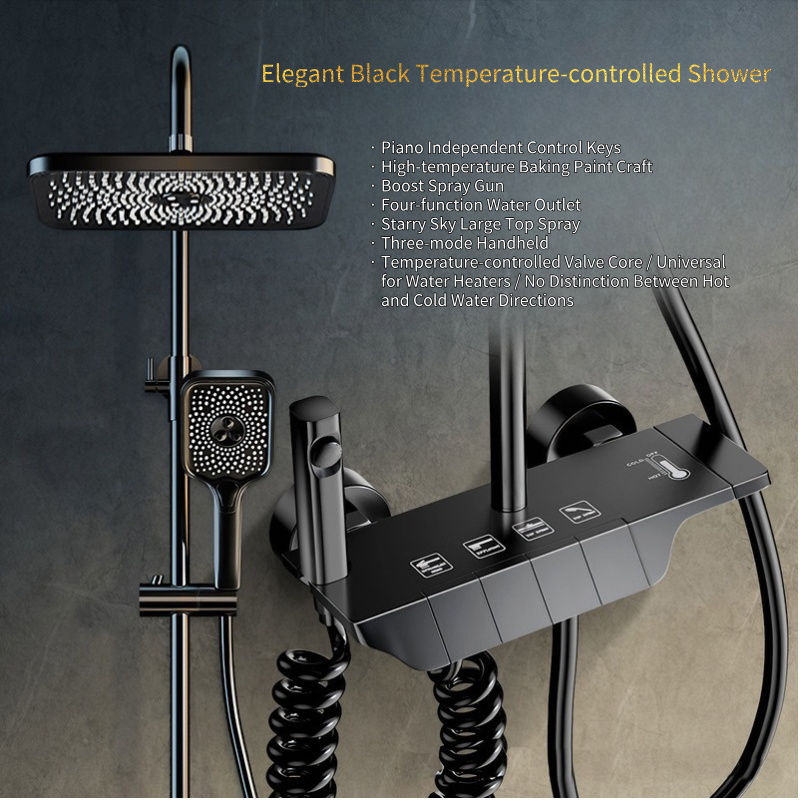
We specialize in durable shower heads,faucets, and bathroom accessories.
Contact us for wholesale or custom orders.

