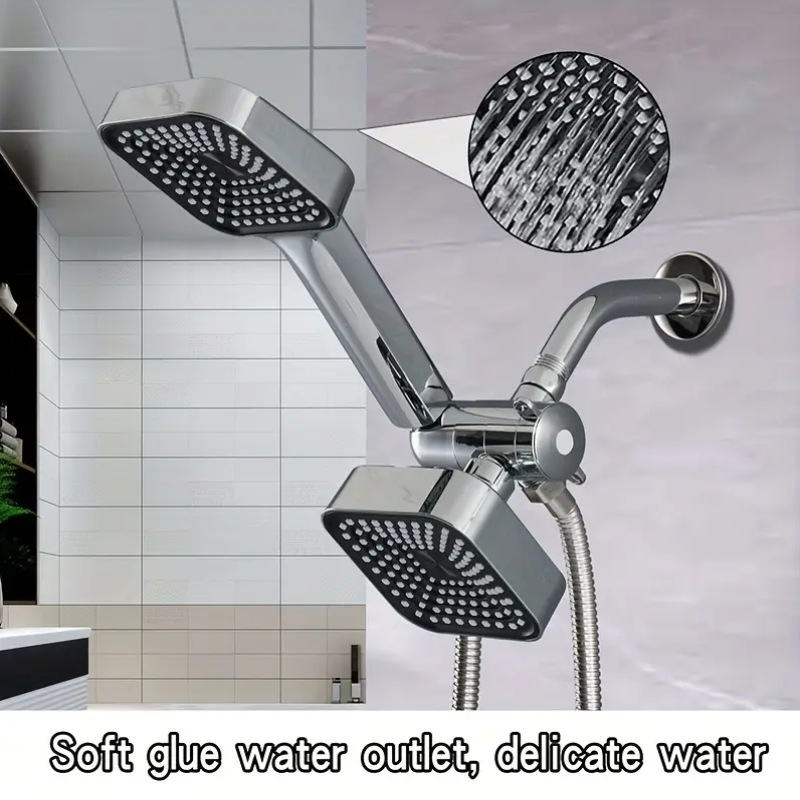
Introduction
Just installed a brand-new shower head, only to hear that frustrating drip… drip… drip?
You're not alone—and you're in the right place.
In this Ultimate 2025 Guide to Fixing a Dripping Shower Head, we'll walk you through everything you need to know. Whether the drip is due to leftover water, high water pressure, or a hidden plumbing issue, this guide will help you:
Understand what causes a new shower head to drip when turned off
Learn the difference between harmless dripping and serious leaks
Follow step-by-step troubleshooting tips to stop the drip
Know when it’s time to call in a plumber
Let's fix that leak once and for all.
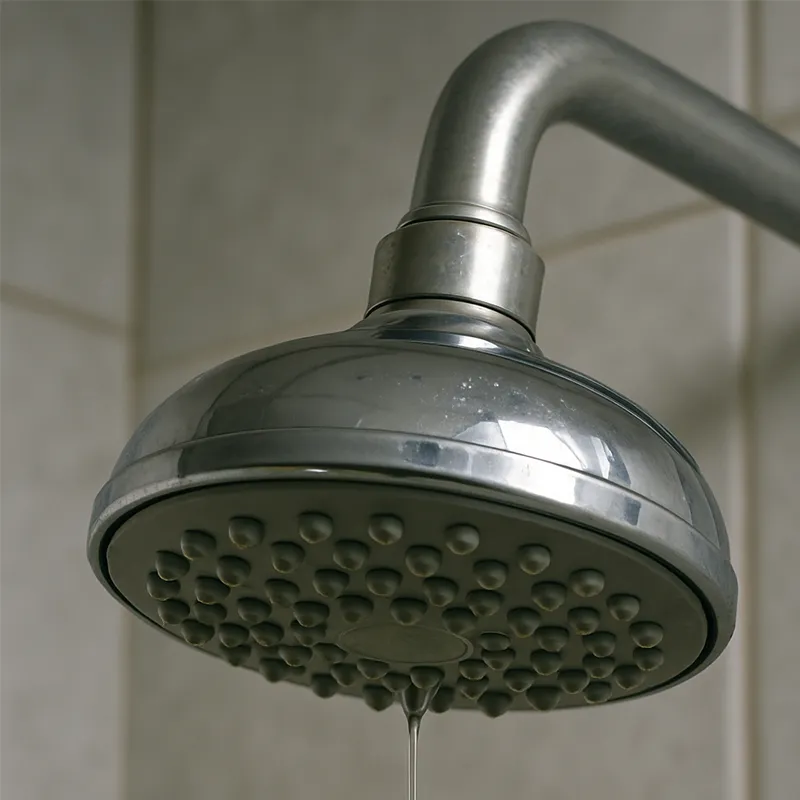
1. Understanding Normal Dripping: When You Don't Need to Worry
Sometimes, dripping is entirely normal, especially right after using the shower. Here's why:
a. Residual Water in the System
After shutting off the water, some remains trapped in the showerhead or pipes. This water will naturally drain out—especially if the head is mounted high.
b. Gravity & Pressure Equalization
Drips may escape due to gravity or residual pressure. Water-saving models with narrow nozzles can prolong this process slightly.
c. Clogged or Narrow Nozzles
Mineral buildup (like limescale) can clog nozzles, slowing drainage and extending dripping. Regular descaling helps prevent this.
🟢 Bottom line: If the dripping stops within a few minutes, it's usually nothing to worry about.
2. When Dripping Becomes a Problem
If the dripping lasts for hours, becomes frequent, or gets worse, it may indicate a mechanical or plumbing issue.
a. Worn-Out Washers or O-Rings
Rubber seals inside the shower head or valve can degrade, crack, or lose elasticity—causing small, persistent leaks.
b. Faulty Valve Cartridge
In single-handle showers, the cartridge valve regulates flow. A worn or misaligned cartridge may allow water to leak through even when shut off.
c. High Water Pressure
Excessive water pressure can force water through closed valves, worsening drips and wearing out components faster.
d. Mineral Buildup Inside Components
Hard water minerals can accumulate inside valves and connectors, preventing proper closure.
e. Diverter Valve Issues
In tub-shower combos, a faulty diverter valve may fail to seal fully—allowing water to trickle from the shower head.
3. How to Fix a Dripping Shower Head: Step-by-Step Troubleshooting
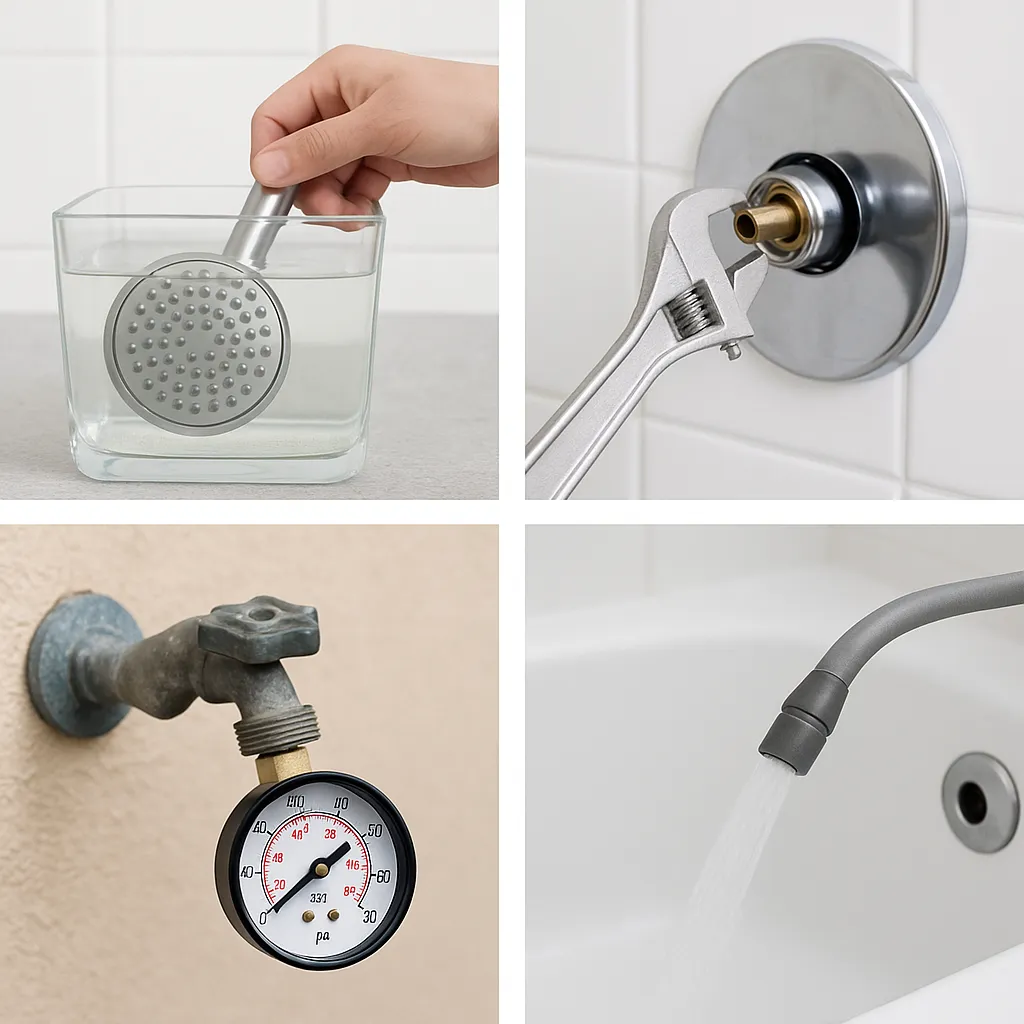
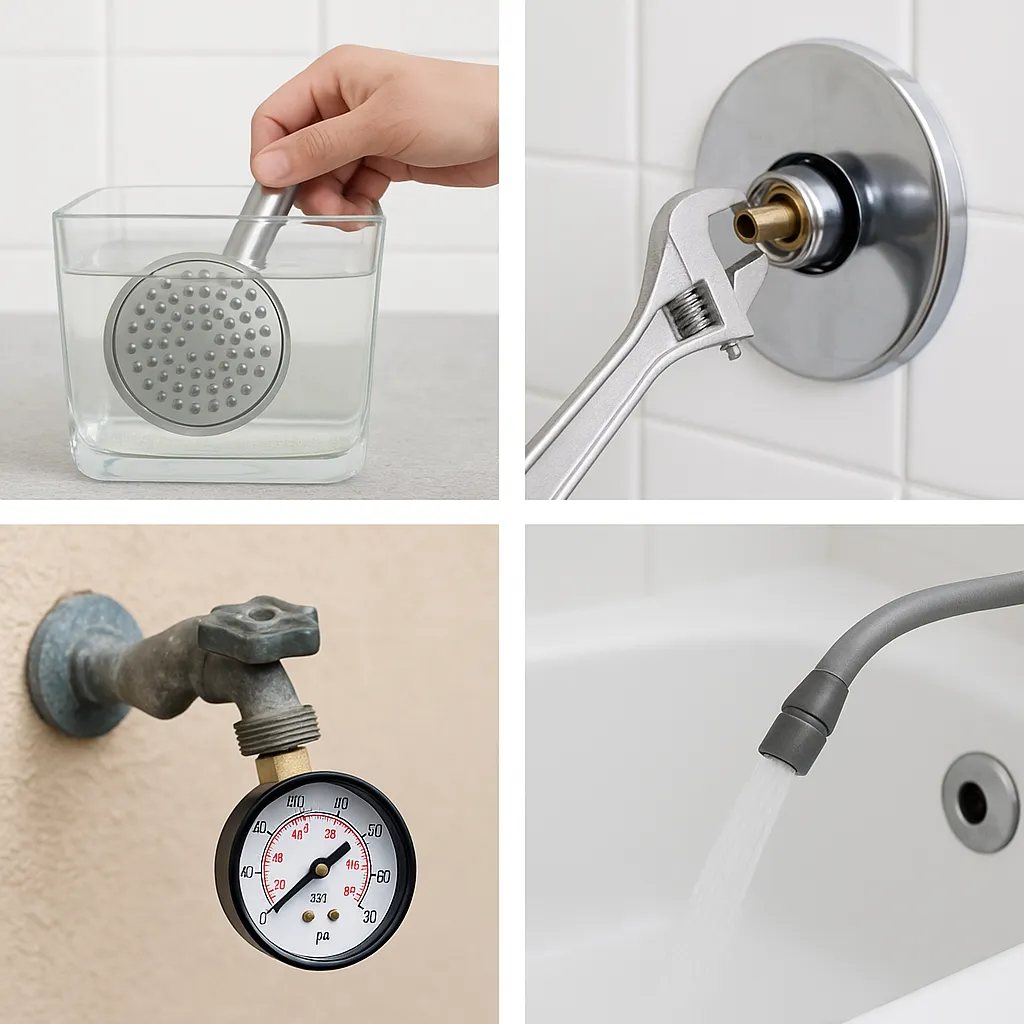
Step 1: Clean the Shower Head
Remove and soak in white vinegar for 20–30 minutes.
Use a toothbrush to scrub away mineral deposits.
Check for visible cracks or worn parts.
Step 2: Replace Worn Parts
Inspect washers, O-rings, and seals.
Replace any cracked or compressed components.
If your system uses a cartridge valve, consider replacing it—especially if it's several years old.
Step 3: Measure Water Pressure
Use a water pressure gauge on an outdoor spigot or laundry tap.
If pressure exceeds 80 psi, install a pressure-reducing valve (PRV).
Step 4: Flush the Pipes
After repairs, run water without the shower head attached to clear debris from the line.
4. When to Call a Professional
Some situations go beyond DIY fixes. Call a licensed plumber if:
You've replaced washers and cleaned the head, but the dripping continues.
Water appears to leak from inside the wall.
You suspect hidden pipe issues, or don't have tools to test pressure.
A professional can inspect the entire valve system, test for pipe damage, and ensure your plumbing is compliant with local standards.
5. Tips to Prevent Future Dripping
🧼 Clean regularly: Descale the shower head every 2–3 months.
🛠️ Choose quality products: Opt for brass or stainless steel internals over plastic.
🔧 Avoid overtightening: This can damage threads or seals.
🚿 Install a shut-off valve: Gives you control and can help isolate problems early.
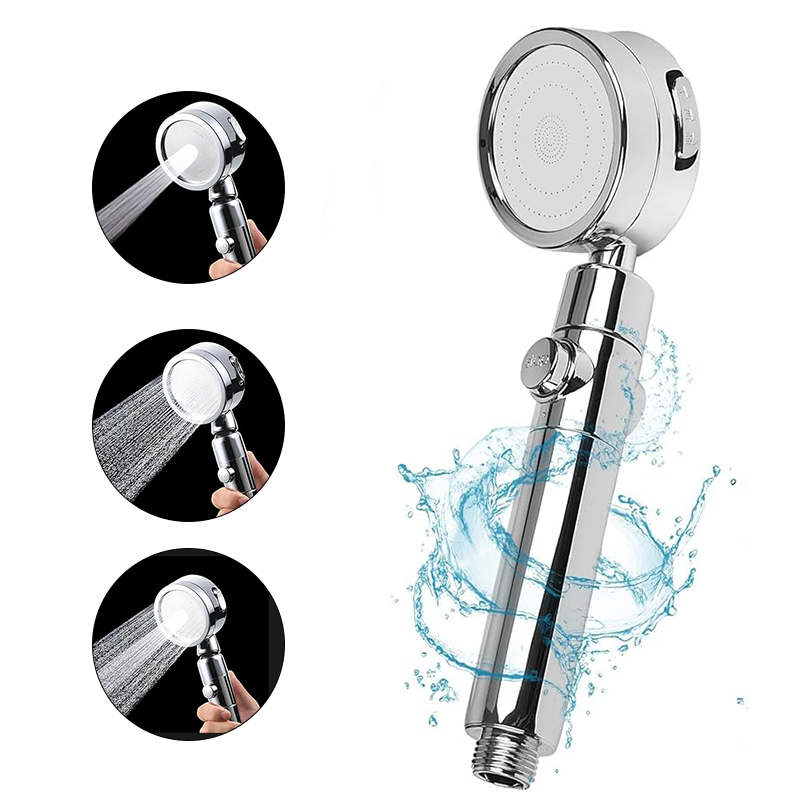
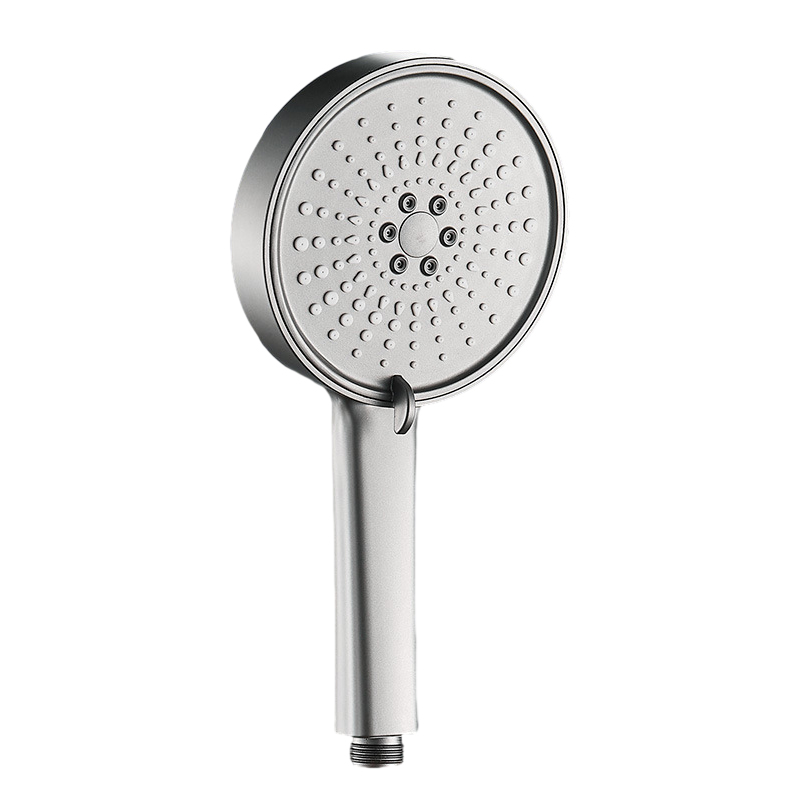
Not sure where to start? Explore WXS premium shower collections—engineered for long-lasting performance and sleek modern design.
Conclusion
A dripping new shower head doesn't always mean something is broken—but knowing when to act can save you time, water, and frustration. Start with simple cleaning and inspection, then move on to checking internal parts or water pressure. And if needed, don't hesitate to bring in a professional.
Clean it. Fix it. Prevent it.
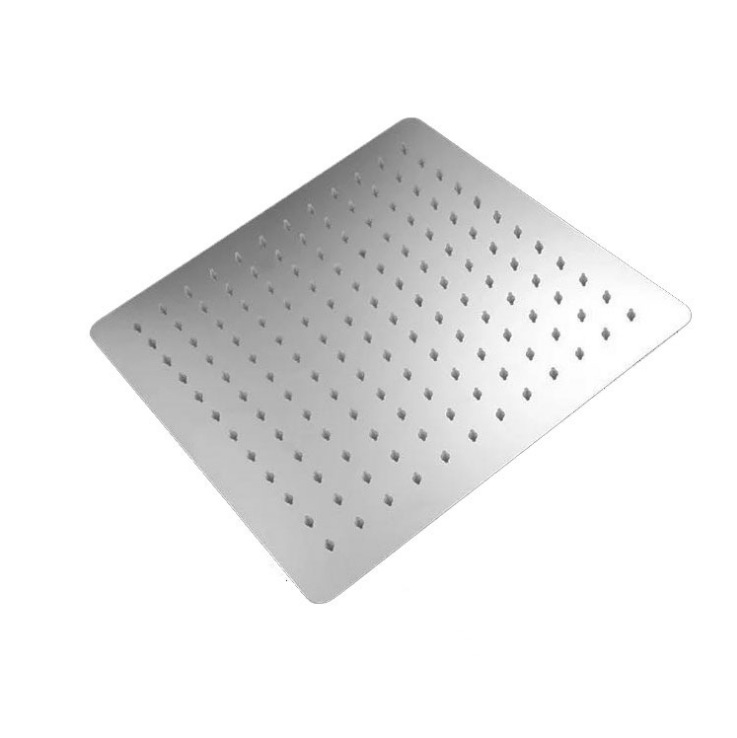
And if you're thinking about replacing your shower head or upgrading your entire shower experience, check out WXS full range of bathroom solutions — from rain showers to thermostatic mixers, crafted for comfort and reliability.
Have a question or your own tip to share?
Leave a comment below or contact us directly — our team at WXS bathroom is here to help you find the right fit for your bathroom.

