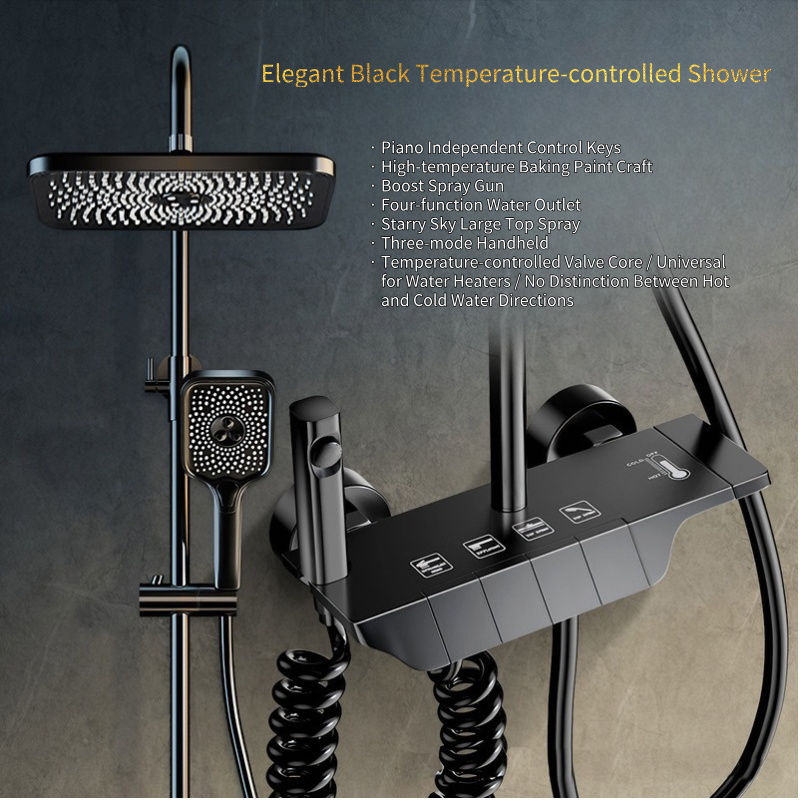
Installing a thermostatic wall mounted shower kit can significantly enhance your showering experience by providing precise temperature control and enhanced safety features. This guide will walk you through the installation process step-by-step, ensuring a smooth and successful setup.
1. Preparation
1. Turn off the water supply: Before you start the installation, turn off the main water supply to your home to prevent any accidental water flow.
2. Flush the pipes: Flush all dirt and debris in the pipes to ensure a clean water flow. Failure to do so may cause valve failure and void the manufacturer's warranty.
2. Install the thermostatic faucet
Seal the threads: Use PTFE tape to seal the threads of the S-kind becoming and wrap it withinside the tightening direction.
Tighten the connector: Use a 22mm open-quit wrench to tighten the S-kind becoming.
Adjust the connector: Adjust the connector in order that the middle distance is 150mm and the intensity is similar to measured previously. Use a degree to ensure they may be degree.
Apply silicone seal: Apply silicone seal among the wall and the eccentric connector.
Tighten the ornamental cowl: Screw the ornamental cowl onto the S-becoming.
Install the tap: Remove the purple and blue caps from the tap. Make certain the clear out out is located efficiently with the rounded aspect dealing with inwards. Place the tap at the S-becoming with out including any extra seals and tighten the nut the use of a 32 mm open-quit wrench.
Level the tap: Use a spirit degree to ensure the thermostat is degree. Adjust if necessary. Turn at the water deliver to the tap and test for leaks.
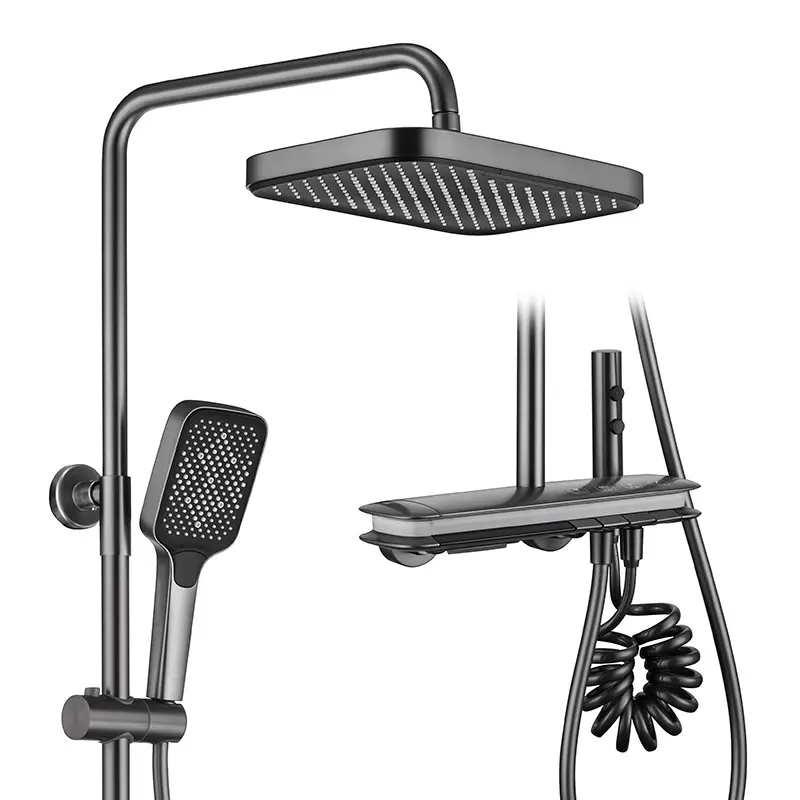
thermostatic shower set
thermostatic shower set
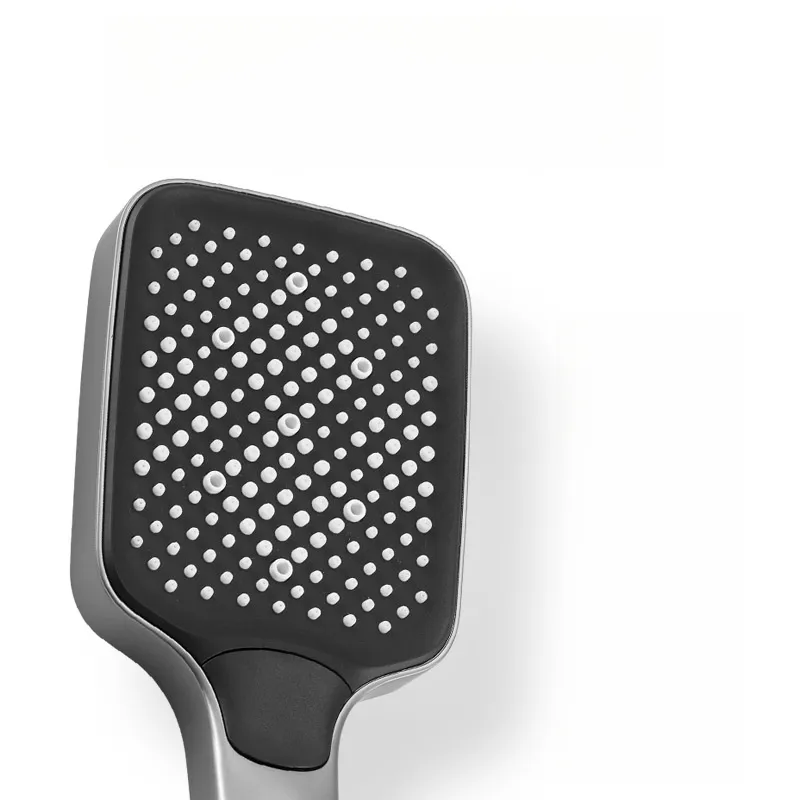
thermostatic shower set
3. Install the rain shower set
Insert the shower bar: Insert the shower bar into the thermostat until it stops.
Install the wall bracket: Place the wall bracket into the top fixing bracket of the shower bar with the flat side facing downwards.
Align the faucet: Use a spirit level to check the verticality of the bar.
Mark the holes: Mark the holes with a pencil and remove the faucet.
Drill holes: Use a 6mm drill bit suitable for the wall type. Drill 3 holes, fill with silicone and insert the provided rod plugs.
Install the wall mount: Slide the flexible seal around the wall mount and place the flat seal between the wall and the mount. Tighten the wall mount.
Install the trim cover: Attach the trim cover to the wall mount and return the shower rod to the correct position on the thermostatic faucet. Push the fixings at the top of the shower rod into the wall mount, insert the 3mm flat head screws and tighten.
Thermostatic Shower Kit Maintenance Tips
Regular Cleaning: Clean the shower head and controller regularly to prevent mineral deposits and ensure optimal performance.
Check for leaks: Check regularly for any leaks or signs of wear. Attend any issues promptly to prevent damage.
Professional Maintenance: Consider having your thermostatic shower set professionally maintained annually to ensure it continues to operate efficiently.
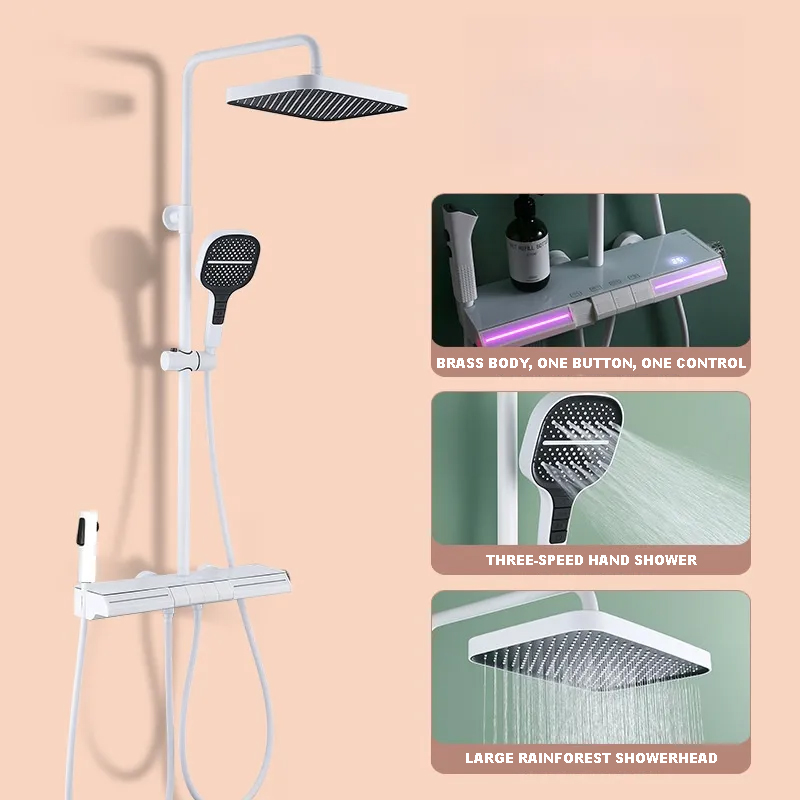
thermostatic shower kit
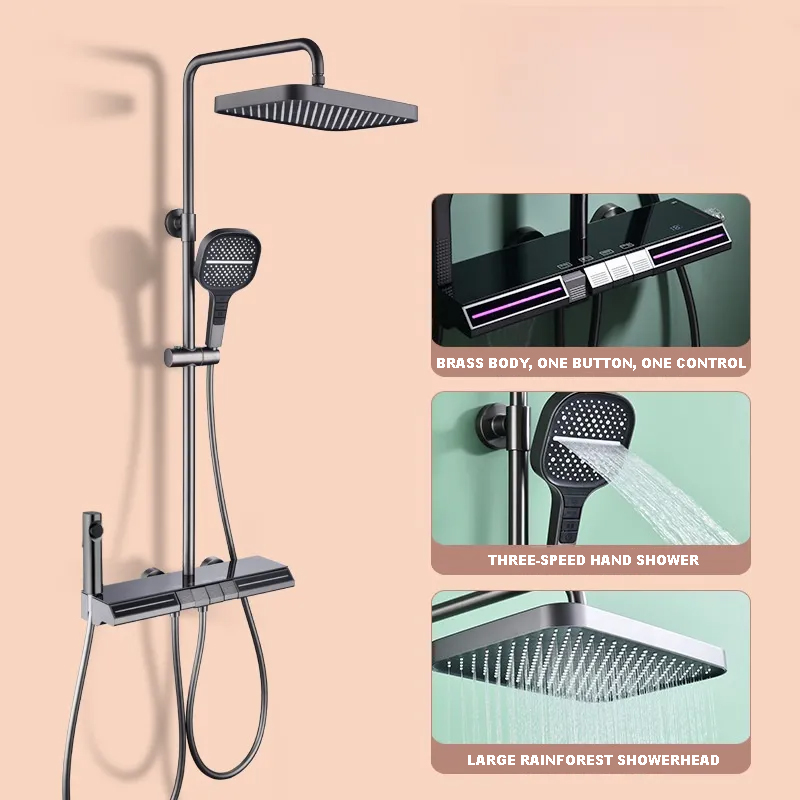
thermostatic shower kit
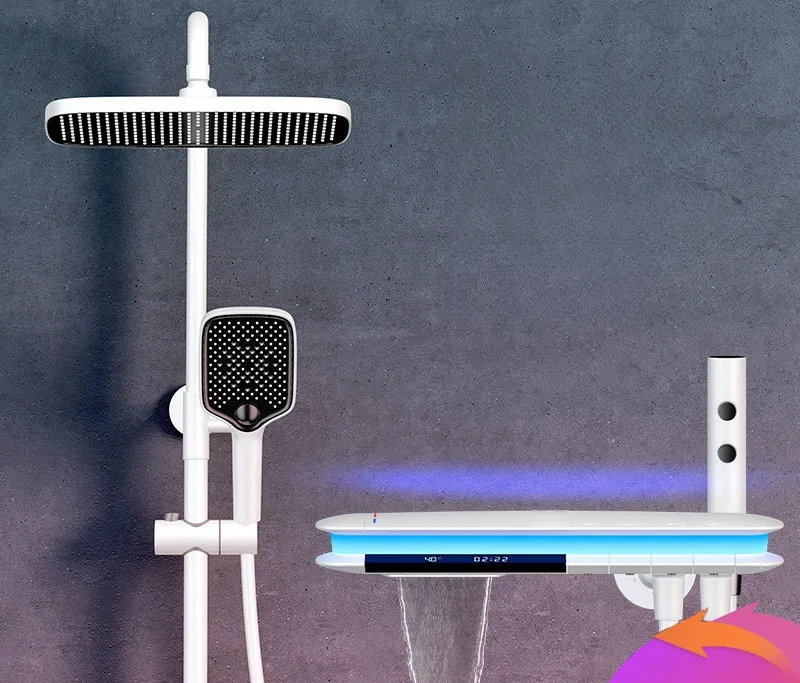
wall mounted shower kit
With quite a number benefits, wall mounted shower kits are a clever preference for any current bathroom. With specific temperature control, greater protection features, energy-saving and environmentally friendly, and customizable settings, those showers offer a highly-priced and snug experience. Follow the above set up suggestions and renovation suggestions to make sure your thermostatic shower set is in pinnacle situation for years to come.
Ready to improve your shower experience? Contact us these days to study extra approximately our wall mounted thermostatic shower kits and the way they are able to decorate your bathroom.

